The Lego Wall
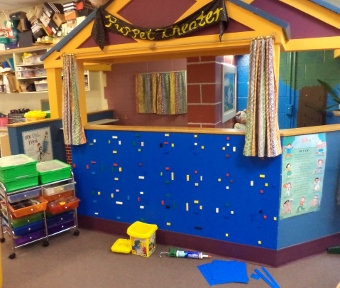
Here's the new Library Makerspace Lego Wall as construction finished:
I had numerous obstacles along the way to completion of the Lego wall. Here's a summary of what happened:
After measuring the space, I estimated that I would need almost 30 building plates to cover the wall. When searching Amazon for my needs, I discovered that the blue plates had a limit of 10 per customer. To get around this problem, I used three different accounts for purchasing the plates. One came from my school's Business Office and the other two were personal. Of course, the shipments didn't arrive all together.....
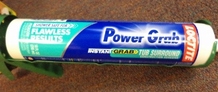
When the plates arrived, I needed to find an adhesive that would work on the plastic plates over drywall. A visit to the smart folks at Lowes led me to an interesting choice - Loctite "Power Grab," which is a tub surround construction adhesive!! The friendly Lowes salesperson told me that this would work fine and would not eat away the plastic, as many strong adhesives, like Super Glues, would. (I've now been told that maybe Liquid Nails would have worked, as well.)
After measuring the space, I estimated that I would need almost 30 building plates to cover the wall. When searching Amazon for my needs, I discovered that the blue plates had a limit of 10 per customer. To get around this problem, I used three different accounts for purchasing the plates. One came from my school's Business Office and the other two were personal. Of course, the shipments didn't arrive all together.....
When the plates arrived, I needed to find an adhesive that would work on the plastic plates over drywall. A visit to the smart folks at Lowes led me to an interesting choice - Loctite "Power Grab," which is a tub surround construction adhesive!! The friendly Lowes salesperson told me that this would work fine and would not eat away the plastic, as many strong adhesives, like Super Glues, would. (I've now been told that maybe Liquid Nails would have worked, as well.)
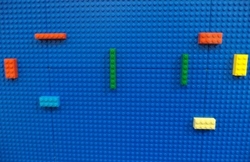
I then needed to figure out how to use the adhesive. My custodian gave me lesson in how to use a caulking gun. It was fairly easy to use. I ran a line of adhesive around the edge of the plate and then made an "X" in the center. After firmly pressing a couple of plates to the wall, I added a couple of Lego bricks at the borders to ensure that students could build between the plates. Cutting the plates to fit the space was easily accomplished using the Art Room's paper cutter. Careful measurement was needed to to avoid costly mistakes.
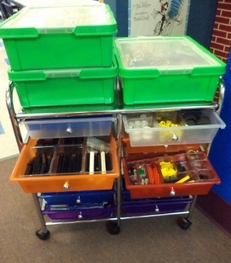
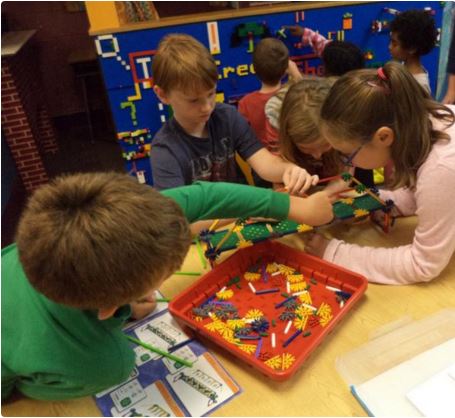
Students may build with the Legos that are in this rolling storage container.
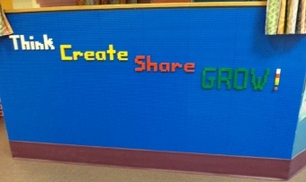
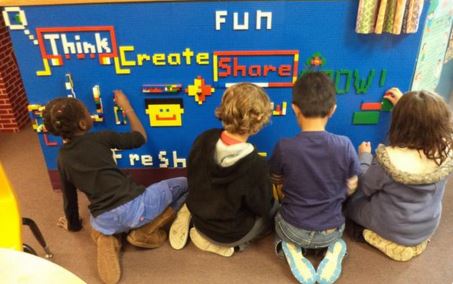
I can't wait for the students to use the new Lego wall! I put up the AASL Learning 4 Life motto, "Think, Create, Share, Grow" to remind students of the intent of the new space. They'll decorate around the words during the first couple weeks of school.
Since these words will be removed from the wall after the first couple weeks of school, I'm now working on adding them to the beige cabinets towards the back of the makerspace (see picture in "Library Makerspace section). I'll ask student groups to come up with various ways to display the four words and see what they come up with.
Since these words will be removed from the wall after the first couple weeks of school, I'm now working on adding them to the beige cabinets towards the back of the makerspace (see picture in "Library Makerspace section). I'll ask student groups to come up with various ways to display the four words and see what they come up with.
|
Students truly enjoy exploring the Orchard School Library makerspace and especially the Lego Wall!
|
